Monday, November 24, 2014

Circus Animal Cookie Nail Art by @chalkboardnails

My mom is unable to eat chocolate, so she's always had a few non-chocolatey sweet treats she favors. Peppermint ice cream, German raspberry candies, and Circus Animal cookies were some of her top picks when I was growing up. Personally, my pick out of those would be the Circus Animals! I've always loved the colors of the rainbow sprinkles against the pink or white frosting. Chocolate preferences aside, it's pretty hard to resist their sugary sweetness.

Mom, this one goes out to you!

Circus Animal Cookie Nail Art by @chalkboardnails

Nail polishes used:
Salon Perfect Sugar Cube
Formula X Gemini
Formula X Pyrotechnic
China Glaze Sky High Top
OPI Do You Have This Color In Stock-holm?
OPI Suzi Has a Swede Tooth
OPI Good Grief!
Sally Hansen Sun Kissed
Sally Hansen Going Green

This look is simple and quick. All you need is a dotting tool and the right colors! Truthfully, choosing colors took the most time because I thought getting the right shades was imperative for recreating the Circus Animal sprinkles look.

This is also my manicure for The Lacquer Legion's Yummy prompt, because they are yummy in my tummy (duh).

Circus Animal Cookie Nail Art by @chalkboardnails

Have you had these delicious cookies before? In working on this post, I just discovered a recipe for Circus Animal truffles, which I will have to make AS SOON AS POSSIBLE.

Tuesday, April 9, 2013

Chalkboard Nails: Seven deadly sins nail art (gluttony)

Hi guys! Today I'm thrilled to be participating in my first Polish Days! For those of you who are unfamiliar, it's a great initiative put together by Polly Polish that has bloggers create nail art around a specific theme. Everyone posts at the same time and you get to check out all of the other interpretations of the theme -- how fun is that? To join (or to read more about Polish Days), visit pollypolish.com.

Ok, so today's theme is "7 Deadly Sins" & CLEARLY I chose to go with gluttony. I mean... it's food related, and I love food. Simple as that.

Chalkboard Nails: Seven deadly sins nail art (gluttony)


I decided to depict five different round foods as full nail patterns. My pointer is full of chocolate chip cookies, my middle finger is sushi, my ring finger has donuts, my pinky's got fried eggs, and my thumb is covered in cinnamon rolls. So basically my dream.

Chalkboard Nails: Seven deadly sins nail art (gluttony)

Chalkboard Nails: Seven deadly sins nail art (gluttony)

This design is completely freehanded and it took me FOREVER to complete it. The perils of perfectionism I guess, or as close to perfectionism as I can get without tearing my hair out. Despite the absurd amount of time I took to paint this, I am totally delighted with the outcome. Worth it, I'd say.

Chalkboard Nails: Seven deadly sins nail art (gluttony)

I'd love to list out the colors I used in this design for you guys, but by the time I was finished with this design, my workstation looked like this (and this is only part of it)...


Besides, so many of the colors I used are custom mixes & it wouldn't do much good to list them individually. If you have specific questions for me though, go ahead and ask in the comments! I'm happy to answer as best I can.

Anyway, what do you guys think of this crazy gluttonous nail art? Am I making you hungry? :)

Be sure to check out the other Polish Days participants, too!

Thursday, September 29, 2011

 Carving duck and heart tutorial


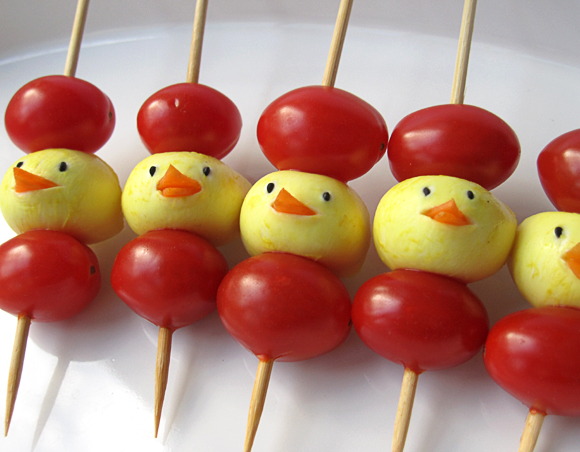
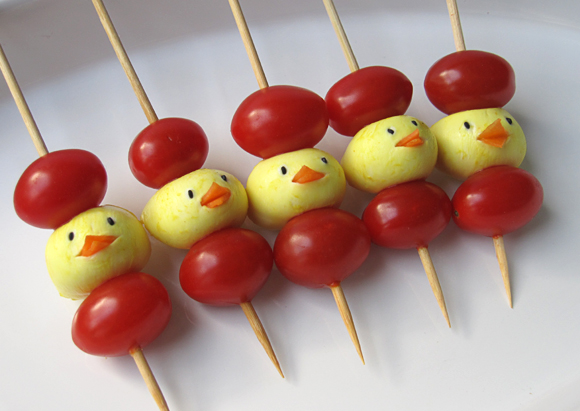
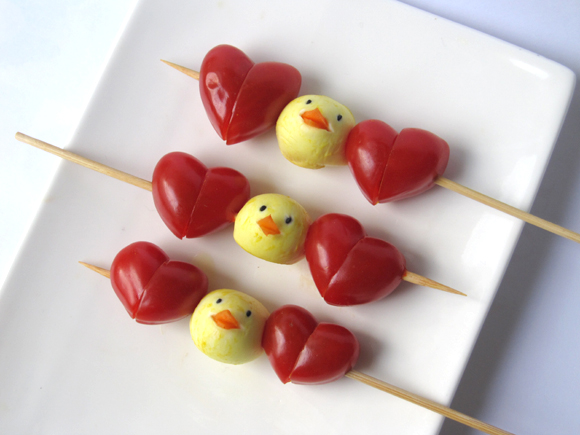
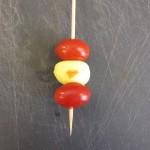
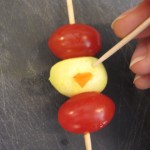
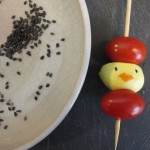
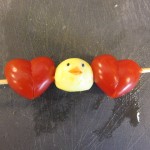
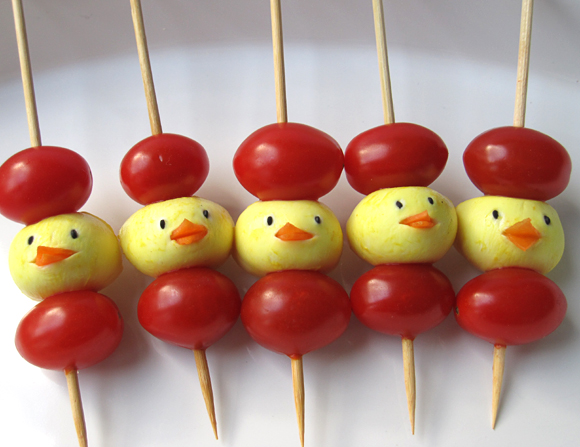
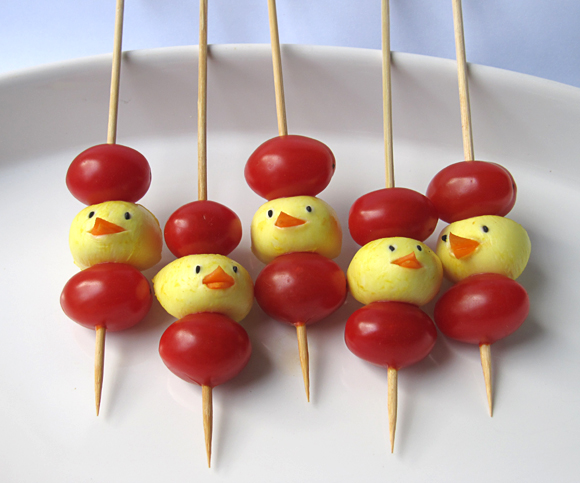
A neat snack for your spring theme party or Easter celebration: mozzarella chicks marinated in curry and cherry tomatoes on a stick. Easy to make and it will sure impress kids or grown-up lovers of cute food. You can serve these skewers as a party snack, garnish salads with it, take them to a picnic or put them in a lunchbox.
I prepared these skewers before Easter but didn’t find time to post it until now, sorry :-P
There’s this gorgeous food blog called L’exquisit where I’ve seen these neat Italian lollies made with mini-mozzarella and cherry tomatoes. I really like the presentation and wanted to make something similar. In the end, it turned out to look quite different but oh well, the ingredients are still alike.

How to make Mozzarella Chicks & Cherry Tomato Skewers
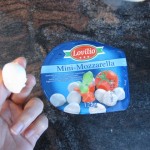
  • mini-mozzarella (if you can’t get your hands on this, you can probably replace it by scooping out balls from other cheeses like gouda, etc. Cube-shaped pieces might be nice as well. Or smash and mix feta with cream cheese to form little balls.)
  • curry powder
  • carrot
  • black sesame
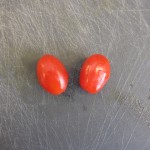
  • cherry tomatoes (must be oval-shaped if you want to make hearts)
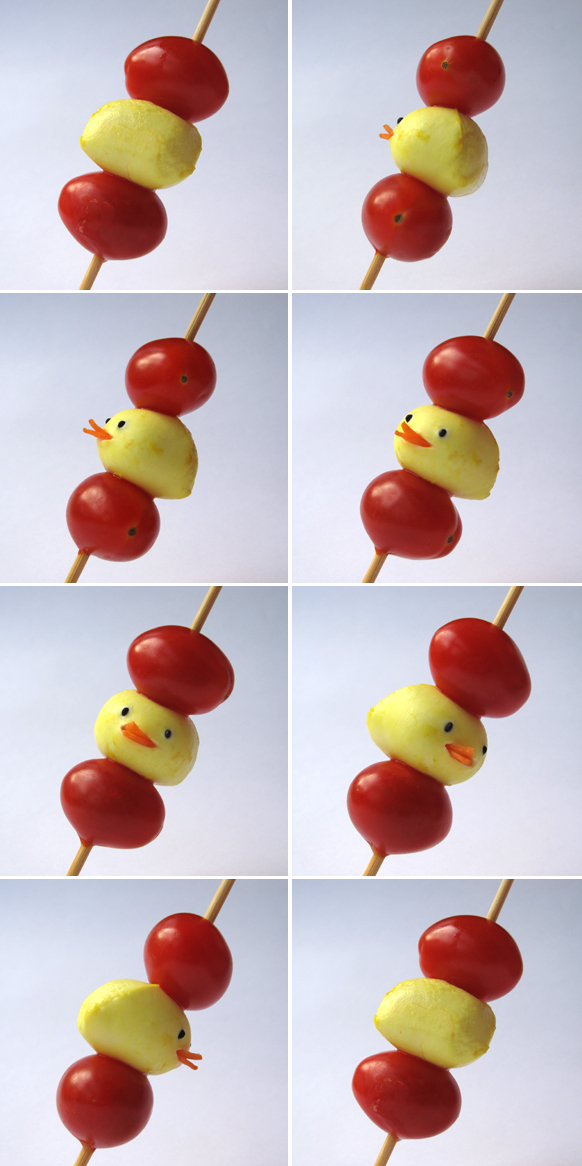
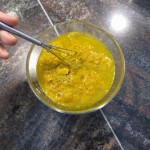
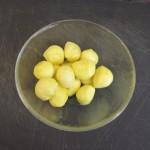
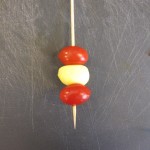
    1. Marinate the mozzarella in a 1:3 curry-water mixture for about an hour, then rinse gently with cold water. Pierce mozzarella and cherry tomatoes with a skewer.
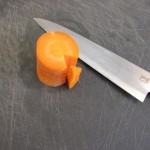
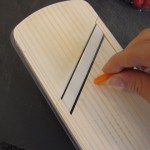
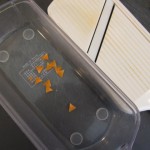
    1. Cut out a triangle from a carrot like shown in the picture and then slice it thinly with a knife or mandolin slicer.
    1. Slit the mozzarella a little and place 2 carrot triangles inside.
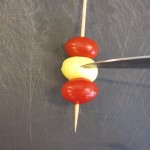
    1. Pierce 2 holes with a toothpick and stick in 2 black sesame seed.
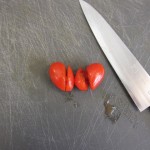
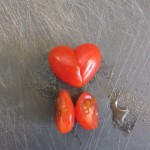
    1. For making heart-shaped cherry tomatoes, refer to this post: http://eyecandy.nanakaze.net/?p=128


Heart and Food gifts: Mini-Mozzarella Chicks & Cherry Tomato Skewers

Monday, September 12, 2011

Angry Birds in Our Lunch


 My kids often take packed lunches to school.   We wanted  to come up with some new and fun ideas, instead of taking the same old boring sandwich.  I asked my kids if they could come up with ideas on making Angry Bird treats before I went to the grocery store. We brainstormed for a bit, and came up with several.  My 12 yr old son even offered to go to the store with me to see if he could come up with more.. (he never wants to go to the store, so he was really into this!)    We had so many ideas we could not get them all done tonight, and this post will have to be broken up into 2, maybe even 3 parts.  


Kyle likes to take hard boiled eggs in his lunch, and thought a hard boiled bird would be a fun idea.  I just used edible markers to draw the face and hair  on the egg.


Next up was the yellow triangle bird.  I only had American cheese on hand, so he is kind of yellow-orange. Spread your miracle whip/mayo on a slice of bread and then place your slice of cheese.  Cut the bread into a triangle shape.   We used string cheese for the eyes,  yellow pepper for the beak and black olives for the brows and hair.   The black of the eyes were drawn on with edible marker. 


The round red bird was next.   I bought the tomatoes that are bigger than cherry/grape size but smaller than vine size.  They also happened to be on sale today.


 I made a small slice in the tomato and inserted a yellow pepper triangle.  This is kind of tricky because the tomato can easily tear causing the hole to become to big.   I used toothpick halves to place the string cheese eyes and olive pieces.  I also used them to add the red feathers on top.  This is probably okay for older kids because they will hopefully not eat the toothpicks, but younger kids might need help removing them. 


It was kind of hard finding something round and green for the pigs.  It was Kara's idea to use the cucumber.   We used yellow pepper for the crown, string cheese for the eyes and a piece of celery for the nose.  It was too hard to make the teeth, and the kids thought it looked better without them anyway.  


The white bread bird is one of Kara's creations.  She was just experimenting with bread tonight, but it could easily be made on a sandwich.  Use a round cookie cutter to cut a circle in the bread/sandwich. She used carrot pieces for the beak, string cheese for the eyes and olives for the brows and hair. 
The boomerang bird was also one of Kara's creations.  I have Angry Bird Rio on my phone, so I do not know this particular bird. She knew of him from her dad's Angry bird  game. She made him from cucumber, yellow pepper,  string cheese and black olives.  

Source: pamspartyplanning.blogspot.com

Sunday, August 28, 2011

 Food gifts: The Sweet Ballerina Snack

Don't you love getting packages in the mail - the good kind with fun things inside that you ordered with a birthday or Christmas gift certificate?  Weelll, the delicate pink muffin cups you see in the snack above were part of said wonderful package.  :)  They were practically begging me to be part of a ballerina snack as soon as they left the box.

fun food friday: pinwheel flowers

funfood57


Pink baking cups:  "Pleez, oh pleez, Michelle!  We have leeved (lived) for dees (this) moment!"

I am thinking their accent was definitely French.  Anyways, who am I to refuse talking pink muffin cups?  So without further ado, I give you "The Sweet Ballerina Snack":

**Leotard:  peanut butter sandwich with strawberry cream cheese on top.  The bows on the leotard are made from canadian bacon.

**Muffin cups #1 and #3 (sides of "tutu"):  strawberry banana yogurt

**Muffin cup #2 (middle of "tutu"):  canadian bacon

**Pink Fluffy Stuff:  cotton candy.  Please forgive the clumpy look of it -  my vision was for the puffy, wispy kind.  I quickly learned that cotton candy doesn't necessarily stay nice for long periods of time and definitely not when moisture is added (like when you touch it with wet fingers).  It just seemed to fit the fluffy tutu idea so well, I had to give it a try.  Although it didn't turn out quite as "tutu-y" as I had hoped, I think my daughter didn't care so much what shape it was in when she ate it and enjoyed the unexpected little treat
Source: henatureofgrace.blogspot.
meetthedubiens.blogspot.comcom

Saturday, August 20, 2011


Phineas and Ferb Cookies Recipe  
Food gifts: Phineas and Ferb Cookies, kids craft ideas
Here's a fun snack that sweetly sums up what fans know about Phineas and Ferb -- they're two smart cookies.
You'll need:
  • Phineas Cookie Template

  • Ferb Cookie Template

  • Batch of chilled sugar cookie dough (homemade or store-bought) *

  • Rolling pin

  • Flour

  • Wax paper

  • Baking sheets

  • Cooling rack

  • Kitchen knife

  • Cookie icing tinted light orange

  • White candy melts and small (5/8 inch) round fondant cutter (or white candies 1/2 to 5/8 inches wide)

  • Brown candy-coated chocolates (such as M&M Minis)

  • Red and green flexible fruit candy (such as Frut Roll-Ups)

  • Clear tape

  • Kitchen scissors

  • Small orange jelly beans

  • Slivered almonds

  • Red and green gummy candy (such as Dots)

  • Hard white candies (such as Smarties)

  • Mini chocolate chips

* If the store-bought brand of dough you use is too soft to hold the cookie shapes while baking, you can knead in a little extra flour to stiffen it before rolling it out.
Phineas Cookie Instructions:


3. Frost the heads with the tinted cookie icing and set them aside until the icing hardens.


4. Meanwhile, use the fondant cutter to cut a pair of eyes for each Phineas head from the white candy melts. Use a bit of icing to stick a brown candy-coated chocolate atop each white candy circle.


5. Now create the hair shapes. For each one, fold a piece of red flexible fruit candy in half (keeping the plastic on the outside) to create a double thickness. Then tape the hair template piece to the plastic and cut out the shape with kitchen scissors. Remove the template and the plastic.


6. When the icing is set, assemble each cookie by setting a Phineas head with a hair piece tucked beneath it on the cookie background. Add a pair of eyes, slipping the lower edge of one beneath the head and setting the other on top. Use dabs of icing to hold the pieces in place. Add a jelly bean half for an ear and a piece of a slivered almond for a grin. For a shirt top, use a green gummy candy half and trim the bottom to fit.
Ferb Cookie Instructions:


3. Frost the heads with the tinted cookie icing and set them aside until the icing hardens.
4. Meanwhile, make a pair of eyes for each Ferb head by using dabs of icing to stick mini chocolate chips atop hard white candies.


5. Now create the hair shapes. For each one, fold a piece of green flexible fruit candy in half (keeping the plastic on the outside) to create a double thickness. Then tape the hair template piece to the plastic and cut out the shape with kitchen scissors. Remove the template and the plastic.


6. When the icing is set, assemble each cookie by using dabs of frosting to stick a Ferb head on the cookie background. Stick a hair piece to the top of the head. Then stick a pair of eyes in place, overlapping them slightly as shown. Add a jelly bean half for an ear and a piece of a slivered almond for a grin. For a shirt top, use a red gummy candy half and trim the bottom to fit.


Source: 
family.go.com
nghe nhạc trực tuyếnNấu món chay | học nấu ăn DJ - Ảnh đẹp | xalotinnhanh