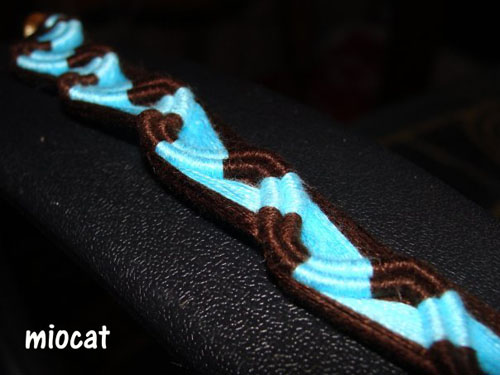
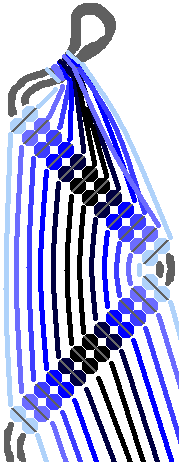
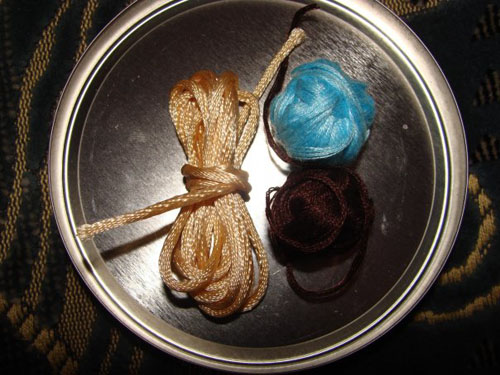
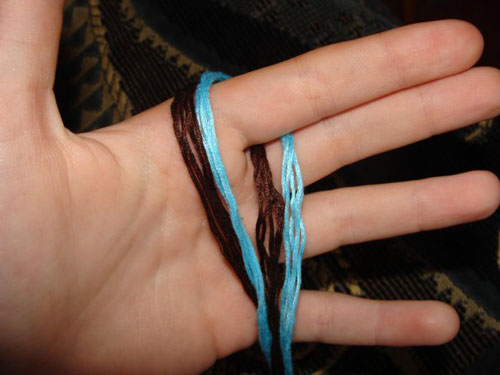
At some point in time, a reversal of roles between mothers and daughters happen. My mother used to take me to places when I was young. Now I take her to places. It took sometime before this happened but the reversal of roles between me and Princess One occurred after 9 years - sooner than anticipated. The reversal of roles I'm referring to is her being my mentor in this crafting project. I let her walk me through all the steps to create this Lasting Friendship Bracelet tutorial, which I'm also sharing with you. I love naming projects and so this is called operation Lasting Friendship Bracelet tutorial.

Materials needed:
Beads with large openings
Hemp cord
Tape (painter's tape is used in this case)
Cardboard

You'll need the cardboard to make a loom. Cut any cardboard into a strip about 3 inches wide and 11 inches long. Cut two slits on both ends approximately half an inch away from each other.

Measure your wrist.

Whatever the size is, add 12 inches then cut 2 strips of hemp cord with this length. For example, Princess One's wrist is 7 inches in diameter so by adding 12 inches, we have a total length of 19 inches. Cut two 19-inch strips of the hemp cord.

Insert the hemp cords on the slits of the loom, making sure that approximately 6 inches of the cord are left hanging.

Tape these cords at the back of the loom to look like this. They are named Cord 1 and Cord 2.

Cut another hemp cord, called Cord 3, with a length double of Cord 1. Since in this case Cord 1 is 19 inches, Cord 3 should be 38 inches. Tie the end of Cord 3 to Cord 1 with a simple knot, leaving a tail of about 6 inches, then tucking its tail on the slit for Cord 1.

Pass through Cord 3 under Cord 1 and Cord 2, then insert a bead.

Make sure that the bead stays in the middle of Cord 1 and Cord 2.

Pass Cord 3 over Cord 2 going towards the bead, then insert it in the bead. By now, Cord 3 should be on the left side and the bead is snug.

To add the next bead, pass Cord 3 under Cord 1 and Cord 2 towards the right like the step did with the green bead.

After that, you're ready for your next bead.

Here's a little pictorial summary of the steps done earlier.


When you have reached the desired length, close the bracelet by tying the ends in a knot.

Make a clasp using another bead that you can easily slide up and down to close or loosen the bracelet.

Knot all the ends of the hemp cord and now you have a Lasting Friendship bracelet.

These are the bracelets we made together. It took us around 20 minutes to complete these beauties and it's so worth it!

How about you? Has there been a project where your kid led you to
finish it?
 RSS Feed
 Twitter
 2:24 AM
 Unknown


 1) Fold your strip of fur lengthwise, so that the back side is facing out. Pin along the edges.
 2) Sew along the edge - ONLY lengthwise. I recommend maybe giving some scrap fur a few test runs, if you can. The two layers are quite thick and can end up having a mind of its own as you sew it. I actually didn't even lower the foot of the sewing machine for the majority of the time (Foot = the metal piece that holds down the fabric, as you can see above)
 Side note: I adore my pincushion - it's about 12 inches high and is in the shape of a dress form. Love.
 Keep sewing!
 3) Turn it right side out. This may be a little tricky at first because the fabric is so thick, but it's definitely doable! Just be patient with it.
 4) Wrap the scarf around your neck and figure out where you want to slip on end of the scarf into the other. Keep in mind the scarf won't be adjustable because of this. You can follow my measurements if you'd like: a 5.5 inch long slit, 10 inches away the bottom, ~1.5 inches away the side.
 THIS...is actually what I wanted to originally make. No extra details, just this. I knew I'd have to finish off the two edges of the slit, so I thought, why not make it a little fun with some ribbon? That way, there's the gorgeous braided detail and I only have to sew one edge.
 I used black grograin ribbon. I wish I had some black or turquoise silk ribbon, but I already had this on hand; the great thing about scarf is that I can easily change the ribbon at any time.
 5) Slip the ribbon through the slit. Make sure it's at the very top of your cut, and that there is an equal amount of ribbon on each side.
 6) Position the ribbon like I did in the first picture; take the bottom strand and fold it over the top strand.
 7) Take this strand and slip it under the fur and through the slit. (The side of the ribbon that was originally facing down should now be facing the fur.) After the ribbon goes through the slit, take it back over the fur - like in the second picture. Your ribbon will be placed similarly to the first picture in step 6. So with that said - keep repeating steps 6 & 7!
 8) After repeating Steps 6 & 7, this is what the finished braid should look like.
 9) Tie it off with a bow, and trim as desired. If you'd like, add a little hot glue in the center of the bow to secure it.
 10) As for the ends, I folded them in and the whip stitched across the edge.
 11) I sewed up the other edge of the slit using a whip stitch and a running stitch.