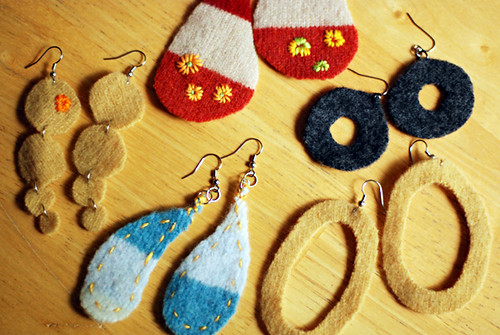
Crafty jewelry: Recycled Sweater Wool Jewelry!
Jewelry making
It’s a simple concept: cut a shape or two or more from a felted wool sweater, attach the pieces to jewelry parts – that’s it! Well, that’s not really it though, you can make it so much more!
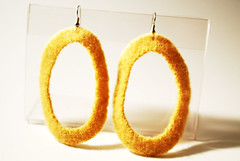
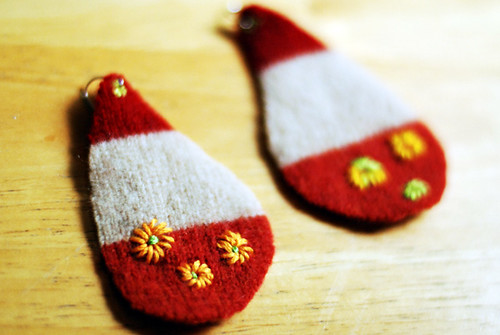
A little background – the yellow hoops were the first thing I made with this idea; when I made my embellished cardigan, I had some yellow ovals left over from the pockets, and I thought, hmm, I could make those into something… I cut the centers out, stuck on some earring wires, and that was that! Rad! I played around with the idea a bit further then, making those blue teardrops below, adding some embroidery this time:

Well then I thought, this seems like such a perfect class project – not too many materials or tools needed, super simple concept, but with infinite creative possibility! I bet students could do all kinds of creative things with the concept, I thought… Well, hoo-boy was I right! Check it out, these are what four crafters did in my most recent class:

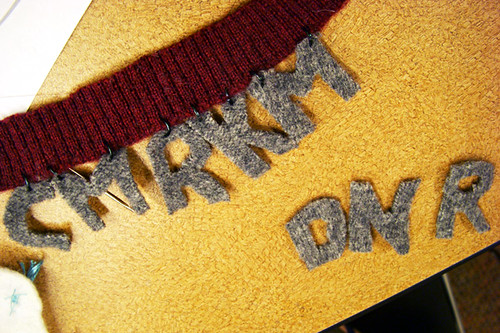


I hope they don’t mind me sharing their awesome creations. I didn’t take photos in any of the previous classes, which I now regret – every single class has had amazing pieces! Don’t you love that pendant on the bottom?! I do! It was made by the library helper at the Sellwood branch, who clearly has fabulous color sense and design talent!
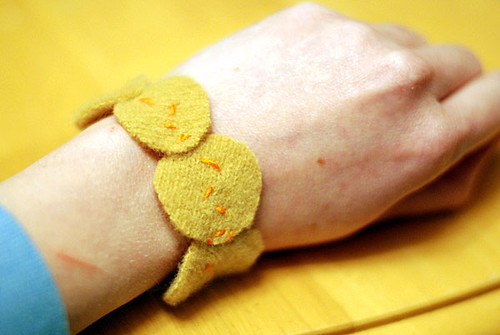
I made these pieces as more class examples – a matching set of earrings, fastened together with jumprings, and a bracelet, the pieces stitched together with embroidery floss, to show different ways of joining parts.

So for this project, you’ll need:
- Recycled wool sweater pieces, felted (great for using leftover scraps after making bigger projects from felted sweaters)
- Scissors
- Jewelry findings of your choice (depending on what kind of jewelry you’re making)
- Jewelry pliers
- Embroidery floss and/or thread (optional, depending on your design) and needle
- Optional cheap felt and pins for using templates
And the “tutorial” from my class handout…
This project is very free form, not requiring a step-by-step how-to, but the basic steps are:
Cut shapes from felted wool.
Use felt shapes to make jewelry, by either
-stitching pieces together with thread/embroidery floss/yarn
-or joining pieces together with jump rings.
Attach clasps, earring wires, or other finishing parts.
Add embroidery decoration or other optional embellishments.
When stitching parts together, if you want the piece to be able to stretch, use zig zags or diagonal stitches.
Use jewelry pliers to work with jumprings, clasps, and other parts to close them tightly.
Cut any shapes you want, either freehand or using a template (paper or felt). If you want 2 identical parts, cut 1 first, then pin that one to the second piece to cut it the same.
Of course, I’m there for individual help in the classes, with using pliers, sewing, etc, so I’ve linked to a few how-to sites to help you along with any parts you’re not familiar with. You can also usemy earring making tutorial on Craftstylish for help with jewelry-making steps. If you want a book to help, I definitely recommend Susan Beal’s Bead Simple – she’s the one who taught me how to make earrings!

These are craft felt templates I cut for students to use if they want. If you’re not sure what shape(s) you want, or you want multiple identical shapes, it’s a good idea to play around with some cheap craft felt before cutting into your sweater. You can try different shapes until you get it just right, then pin the shape onto your sweater and cut around it.
As for felting, this is also on my class handout (see Diane’s felting post on Craftstylish for my detail):
To make recycled wool felt at home, choose a sweater made of 100% wool, or with other animal fibers (like alpaca, angora, cashmere). Machine wash and dry the sweater on hot or warm settings; this will shrink and “full” the sweater, turning it into felt. If you want it thicker/denser, wash and dry it again to felt it more.
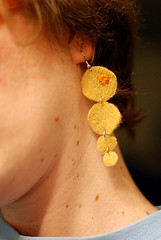
These are earrings I made during a couple of classes, and probably my favorite ones I’ve made. Still not nearly as creative or elaborate as some of the students’ creations, but I like the simplicity of them, since they’re pretty big and bright. (I tried to photograph myself wearing them straight on, so you could see both earrings in the same shot, and this is the best I could get, hah!)


And here are all of my earrings… Obviously, I like making earrings more than other kinds of jewelry, probably because I rarely wear jewelry besides earrings andcuffs. I had plans to embroider on those dark grey rings, but I think I’m going to leave them alone; again, I like the simplicity…

Source: leethal.net
 RSS Feed
 Twitter
 9:52 PM
 Unknown
 Posted in


0 comments:
Post a Comment