Sunday, July 19, 2015

Nail Pop x Skelanimals decals via @chalkboardnails

Have you visited Nail Pop lately? They've got some awesome new decal designs, including some that may make you seriously nostalgic for the early days of the internet. One of their latest collaborations is with Skelanimals. Read on for more details and my thoughts about these babies!

Nail Pop x Skelanimals decals via @chalkboardnails

Nail Pop decals are water slide decals, which means that you cut out the image you want to use, soak it in water, and slide the decal off of the backing paper. You can then situate it on your nail where you want it, and seal it in with topcoat. I found them pretty easy to use, though I do have a couple of tips!

  • Cut around the decal as closely as possible. This eliminates any extra material from around the image and will make it much easier to work with when you go to place it on the nail.
  • Choose a light color as your base to help the decals show up better.
  • Use a paper towel or makeup wedge to soak up any extra water on your nail before you topcoat.
  • Work over a dry or mostly dry manicure. I pressed down pretty firmly on my decals, so you don't want to dent the goods.
  • As the water dries out of the decals, they will start to look slightly translucent. Don't worry! The topcoat will soak in and make them clear again. 

Nail Pop x Skelanimals decals via @chalkboardnails

Nail Pop x Skelanimals decals via @chalkboardnails

Though these aren't my usual style/aesthetic, I do have to admit that they're pretty cute!  I like all of the small pieces too, which could be used to add just a touch of flair to your manicure.

Skelanimals decals are available from Nail Pop or Dolls Kill.

Disclosure: This post contains a press sample.

Tuesday, May 5, 2015

Yep, you read the title correct, here's a first in my blog; vegetable nail art. I've used some Born Pretty Store water decals which as usual contain of 10 sets of nails with small motives. On the one I picked out there is tomatoes, chili, cabbage, cauliflower and pea shells as seen below. I wanted to create a green manicure so I decided to clip out the peas, cauliflowers and cabbages and the rest I'll make something fun of another day. ;)

Tomato Red Pepper Water Decals Nail Art Stickers Decoration
First of all you can see my nails are shorter than before, I decided to cut them down since the constantly where breaking at the nail bed and I was fed up patching them with tea bags. It's not my favorite length but I know some of you like this length better and I'll just play with what I got until they are healthy and long again. :)

Onto the nail art. I started with a green creme polish on all my nails, then I added a white glitter green crelly polish on my thumbs, pointers and pinkies. I also decided to attach 2MM neon green square metal studs on top. And then I created a gradient from green to white on my middle and ring fingers, which are my accent nails. After everything was dry I placed my water decals (I've done a tutorial HERE) and then painted top coat on top. If you haven't tried water decals you should, they are really simple to use. This is also btw my contribution to Green Wednesday. :) I'm really happy with the result, the motive feels different and I also love anything green. ;)


Polishes and materials used:
Alanna Renee - Avada Kedavra
KIKO - 851
R de L Young - Coco Milk
Essence - Wild White Ways
2 MM green metal neon studs
Born Pretty Store Tomato Red Pepper Water Decals Nail Art Stickers Decoration 

Born Pretty Store always has free world wide shipping and if you're interested in purchasing you can always use my code NGL91 which gives you 10% discount on this and/or all products at BPS.

***Some product(s) in this post has been provided for review, however it has not changed my opinion about it***

Saturday, January 10, 2015

Metallic gold nail art decals via @chalkboardnails
Nail decals aren't a new thing, but when I first saw them, WrapArtist's water decals immediately stood out to me. The designs are awesome. They just totally get it, you know? The decals are chic, cool, and trendy, not to mention fully opaque, sometimes metallic, and really simple to use. I put together this look in just a few minutes, and it feels like something that could have come out of a New York nail art salon!

Metallic gold nail art decals via @chalkboardnails

Each set of water decals comes on a small sheet like this. To use a decal, you just cut it out of the sheet, soak it in water for a ~20 seconds, and then slide the decal off of the white backing paper. Position the decal on your dry nail and dab it on a paper towel to remove any excess water, then finish with a topcoat.

One thing I really appreciated about these decals is that the clear part of the decals around the designs are already trimmed. You don't have to cut super close around the design to avoid excess clear around the edges...the work is done for you! Just slide it and stick it.

You can also use them in gel to get a lot of mileage out of your WrapArtist manicure.

Metallic gold nail art decals via @chalkboardnails

For this look, I started with a base of Deborah Lippmann Like Dreamers Do from the new spring collection (swatches soon). The glitter accent nail is Nicole by OPI Get Carrie'd Away.

I added decals from two WrapArtist sets: Being Negative and Say What. The Say What set is especially awesome for those of you that like to get a little saucy, as it includes profanity & other buzzwords.

Metallic gold nail art decals via @chalkboardnails

If you are interested at all in these decals, I highly recommend browsing the Wrap Artist site. There are lots of killer sets, and I've only given you a taste of the awesomeness here. I'm already scoping out some additional sheets to grab for myself.

WrapArtist decals are available at wrapartistnails.com. Decals range from $5-6 per sheet.

Sunday, March 30, 2014

Now I've reached no 28 in the 31dnc which is "inspired by super natural" and at first I had no idea what to do. Then I came up with the best idea ever which was showing my water decals set from Born Pretty Store which happens to be a Halloween set with a whole bunch of super natural stuff. I've also included a tutorial of how I did this so you'll see how easy they are to wear. The Halloween set is just one example and there is more types of characters with water decals on their site. Remember that you can use my discount code NGL91 to get 10 % off.

The set I got is filled with lots of different motives. At first glance it seems like it's only 4 manicures (seems like ten nails of each theme)  but comparing the size to my nails (which is pretty wide I think) you see that this is way more. I used two "nails" for 5 of my nails and then I think I filled them a bit too much.
To the left: my pinkie. To the right: My thumb.

And below is my little pictorial/tutorial guide on how to do this. After it I'll give some small instructions if you find it necessary. Basically this is a very quick and simple technique to obtain advanced nail art.

 Instructions:
  1. Cut out the main motive with a (small) scissor.
  2. Peel off the protective plastic on top.
  3. Maybe cut in smaller pieces and then put in water. You just need them covered so a plate is enough. (Glass like here is not needed ;))
  4. Pick up the motive. The paper feels "oily" which makes the motive peel off easily.
  5. I used a tweezer to grab it even though it would be possible just to use the fingers.
  6. Then place it on the nail. It is super easy to move it around to place it exactly where you want.
  7. When I got it where I wanted I used my finger and pressed it down firmly.
  8. Then wait for a moment for the water to disappear or use a hair dryer. Then top coat it and you are ready to go.
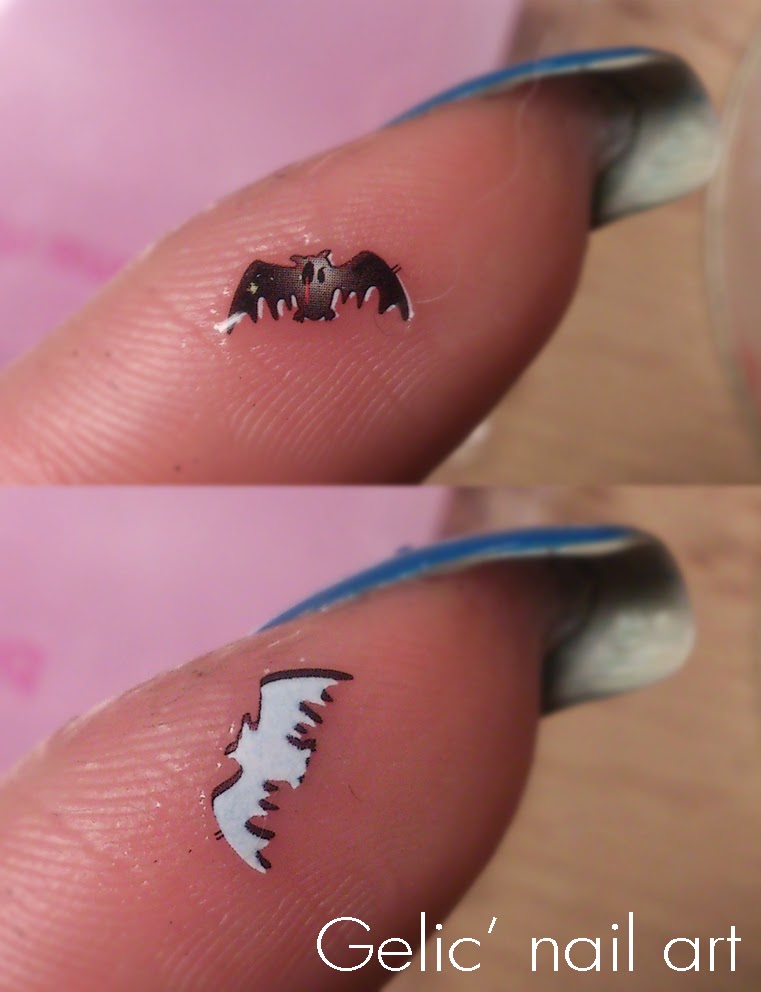
Here you see a good thing, the water decals have a white background making the motive look very sharp even on darker colors since the polish color wont shine through.
And below is the result. I might think I put too many motives on each nail but it was really fun to try out. One advantage with this comparing to stickers is that the surface is 100% smooth with top coat so there's no risk for curling. They where also easy to remove. So my verdict is that I really liked this. It was surprisingly fast to do and the result is very nice even though I'll try to get some more all year around motives. For example I like the sailor themed ones on the same link as these.


And there you have it. The link to these water decals are HERE at the Born Pretty Store Website. The cost for the whole decal set is $3.99 and FREE world wide shipping. With the discount it's ($3,99x0,9=$3,591) which is ~25SEK, ~£2 and ~€2,5. 


 Polish used: Claudia - 609 (full swatch will come later)

***Some products in this post have been provided for review***
nghe nhạc trực tuyếnNấu món chay | học nấu ăn DJ - Ảnh đẹp | xalotinnhanh