Gift presents for kids: Sweet Minky Tutorial
Cut 2 sides and 1 back each for your outer cape and the lining (6 pieces total).
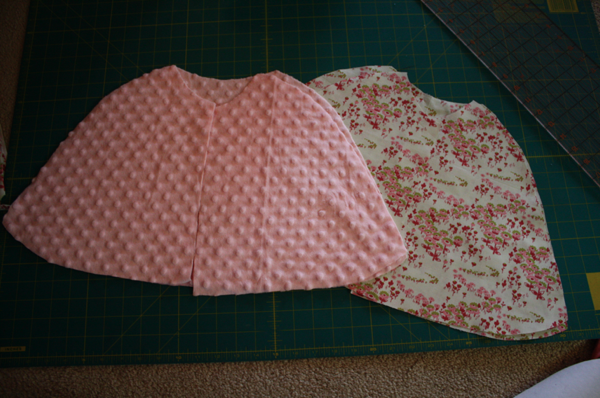
Starting with the lining, sew down both side seams.


Then repeat with the minky outside.

Open them up and put right sides together.

Align the side seams at the neck and pin from seam to seam. Use lots of pins to keep the minky from stretching more than the cotton lining.

Then pin from the seams to the outer shoulder.

Stitch at 1/4″ seam allowance.
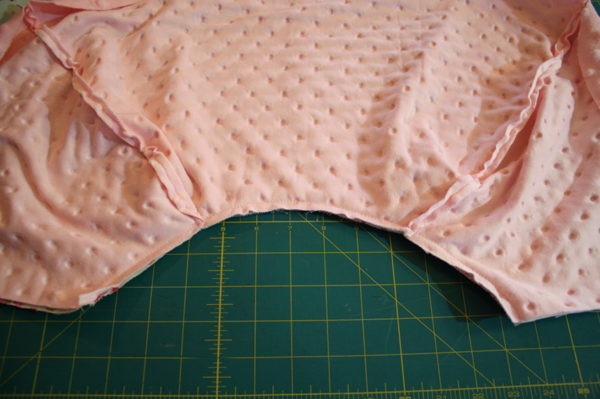
Now go to the bottom, making sure to keep your fabrics laying flat so they’re even, and pin from seam to seam. Sew them together.

Move to the bottom of one side, leaving a gap about 4 inches wide to turn your cape when you’re finished, pin and sew to the edge.

Do the same up the side, sewing from bottom seam to top seam.
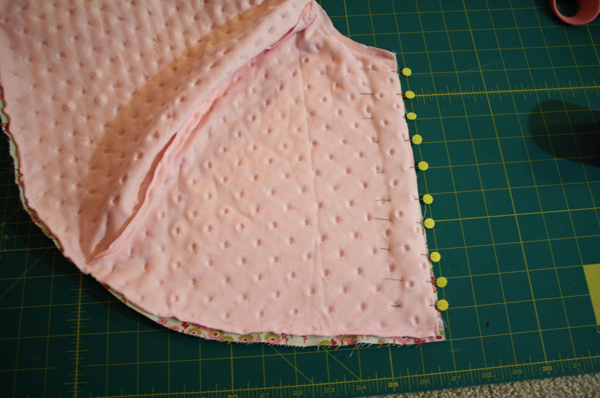
Repeat on the other side, but don’t leave the hole to turn through.
Then I clipped all my edges with pinking shears to make sure my curves laid flat.

Turn your cape through the hole and smooth.
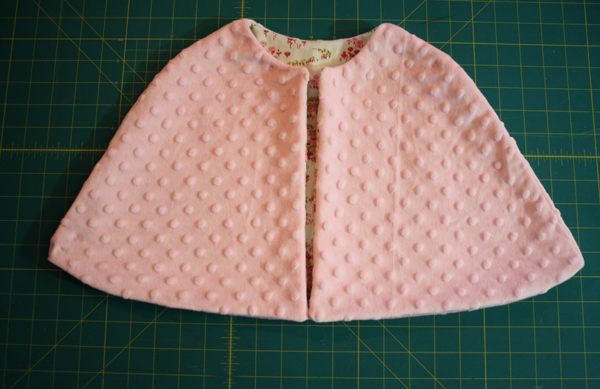
To help keep my lining and outer cape pieces together, I sewed down the side seams on the outside.

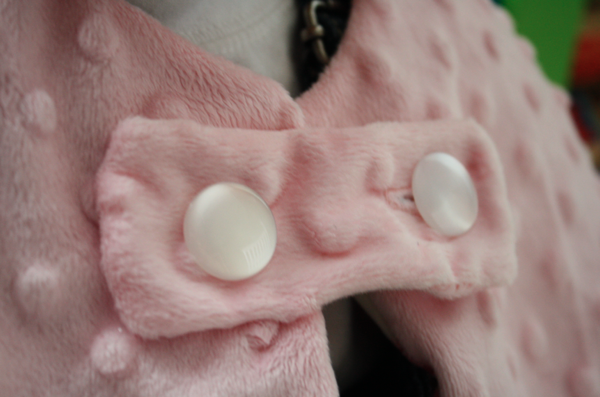
Take your buttons and place them on the front of your cape, measuring how big you want your closure piece to be.
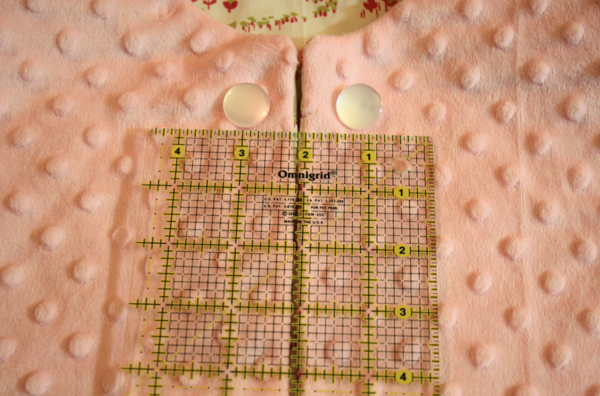
I decided I wanted it 4 inches long and 2 inches wide, so I drew the approximate shape on paper, rounded the edges, and cut out 2 pieces.
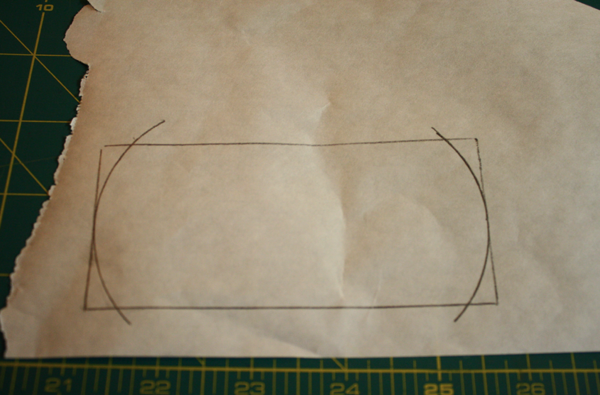
With right sides together, I sewed around the outside, leaving a little 1 inch hole to turn it through, and clipped with my pinking shears.

Turn right sides out, whipstitch the hole closed, and mark your button hole.
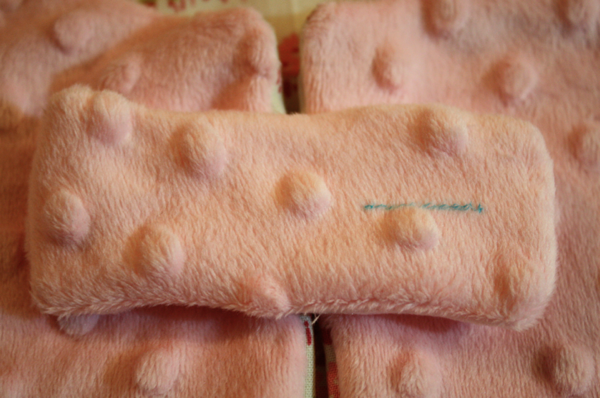
Make a buttonhole, hand stitch the closure on one side, and attach buttons.

And you’re done!
Now on to the boots!
For each boot, cut 2 uppers, 2 boot pieces, and 1 sole.
Take your uppers, fold right sides together, and sew across the straight end.

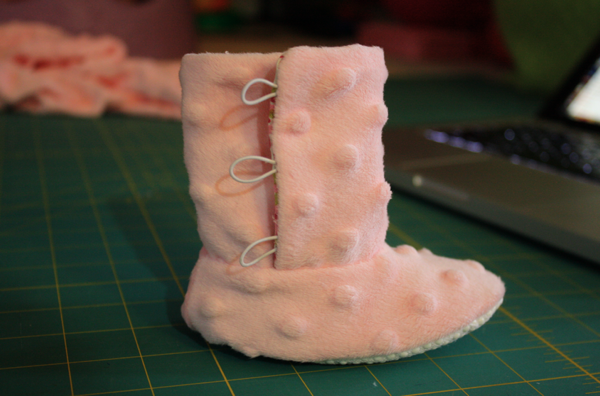
Lay out your boot parts. Mine are 3.5 inches wide, so I measured .75″ from the top and made a mark at 1″, 2″, and 3″ for my elastic loops.
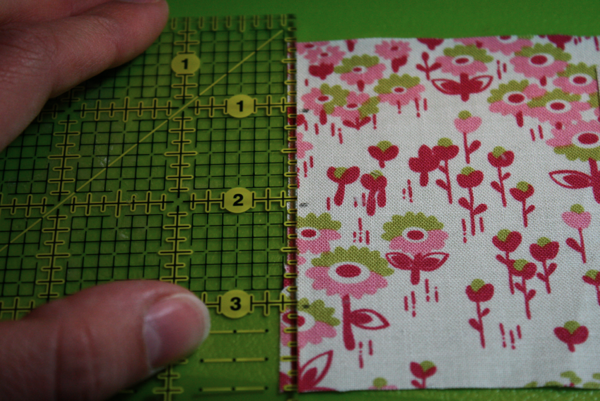
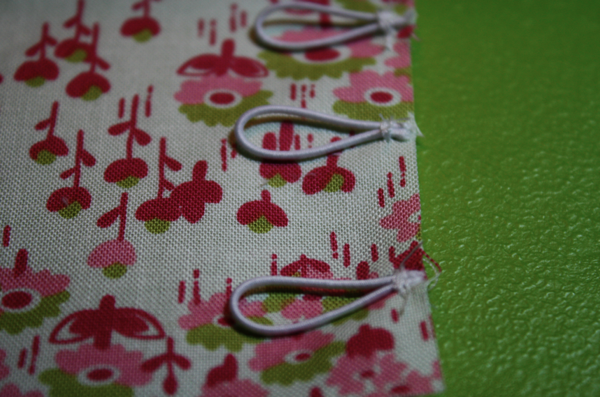
I cut pieces of elastic (I keep the elastic that comes tied on shoes, and that’s what this is from!) 2″ long. Fold them in half, and sew to the lining with the ends of the elastic matching the raw edge of the lining piece.
Take the minky outer piece and with right sides together, pin and sew the 2 sides and the top, leaving the whole bottom open.
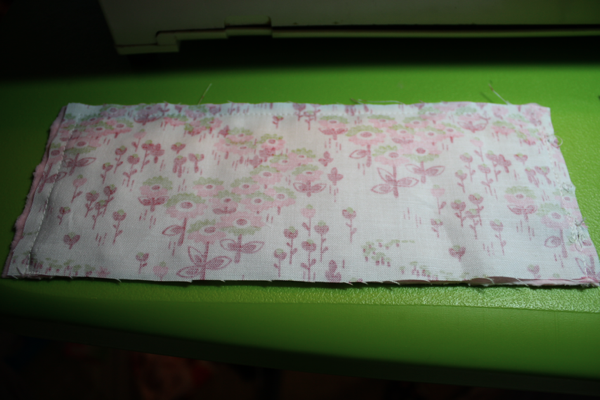
Turn right sides out and press with your fingers. Your elastics should be on opposite ends for the different shoes.
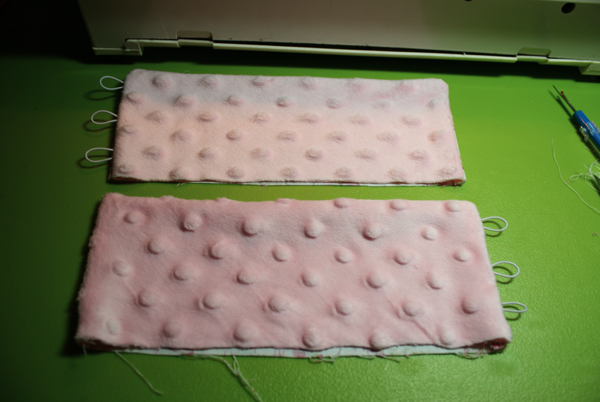
Roll your boot piece, lining it up with the outer side of the shoe (this will be opposite for the other shoe), making sure the elastic pieces are pointing towards the back seam.

With the right sides together, lay the boot piece on the upper, starting at the side.
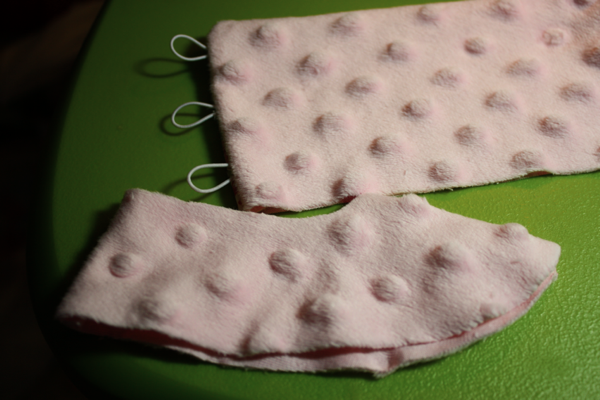
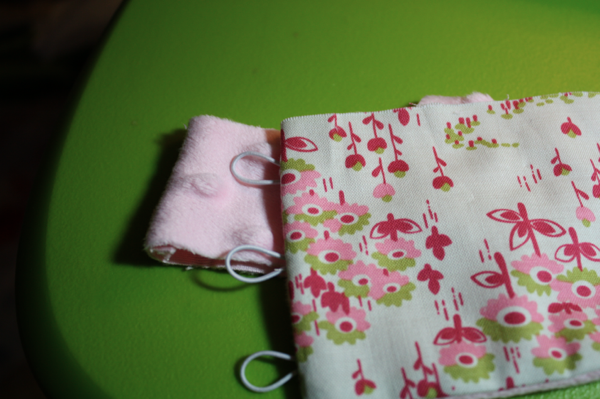
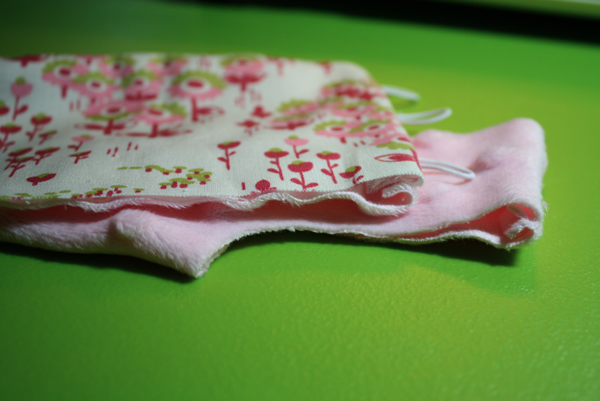
Pin the pieces together, overlapping the end when you get back to the start.
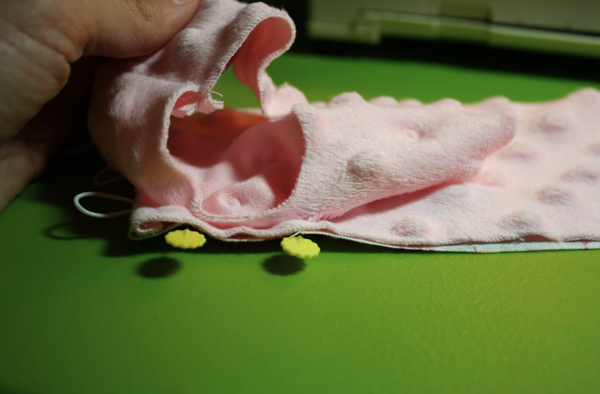
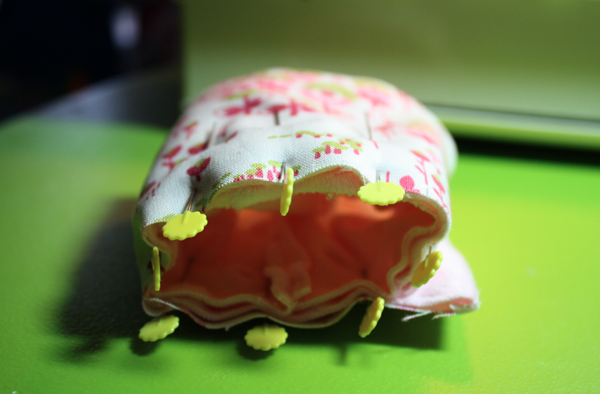
Sew them together, removing the pins as you go.
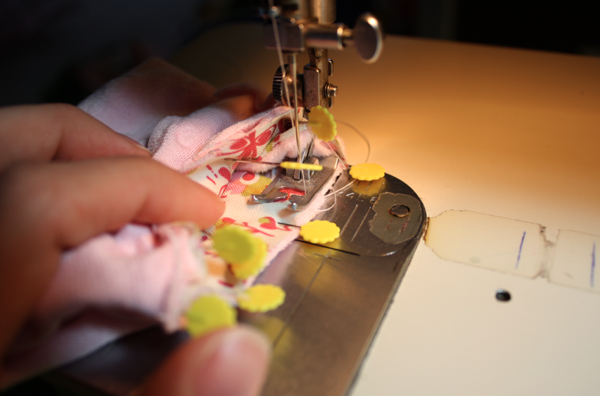
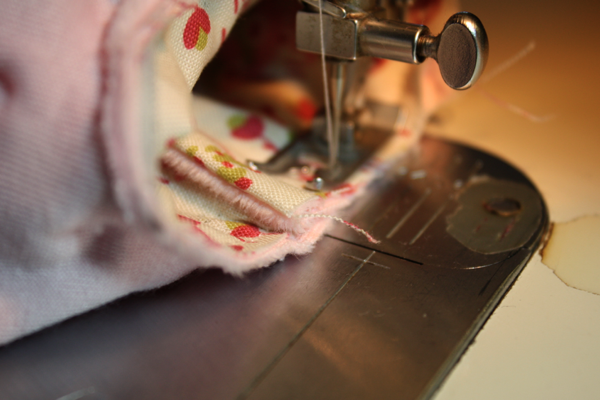
You should now have your finished boot top sewn to the outer upper piece.
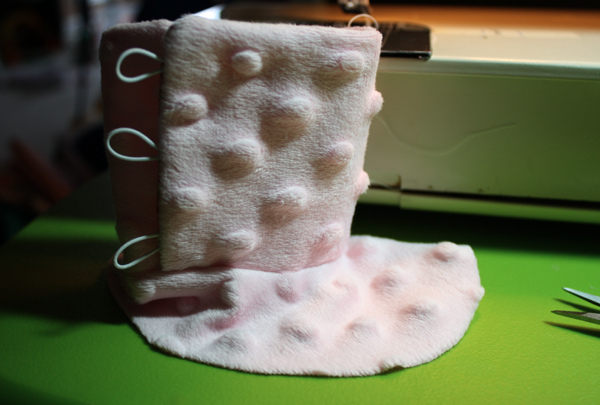
Turn the boot inside out so you’re looking at the boot top lining.
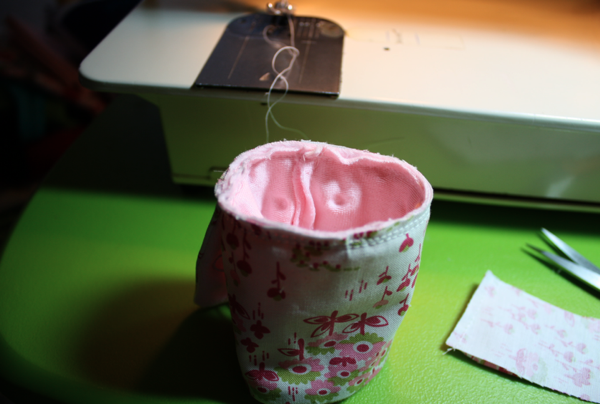
Take the lining upper piece, and with right sides together, put it around the boot top, matching up the back seam with the minky seam in the middle. Sew around the opening again.
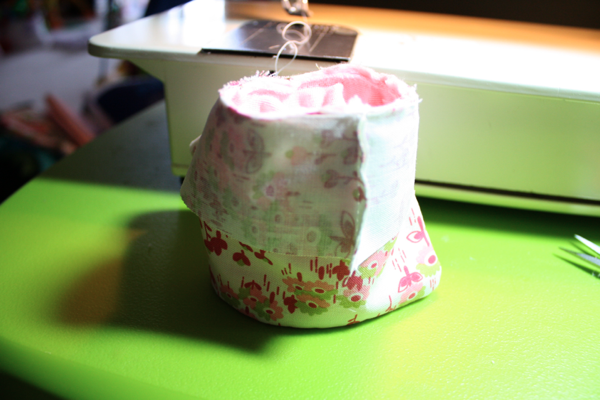

Now take your sole, with the bottom facing up at you,
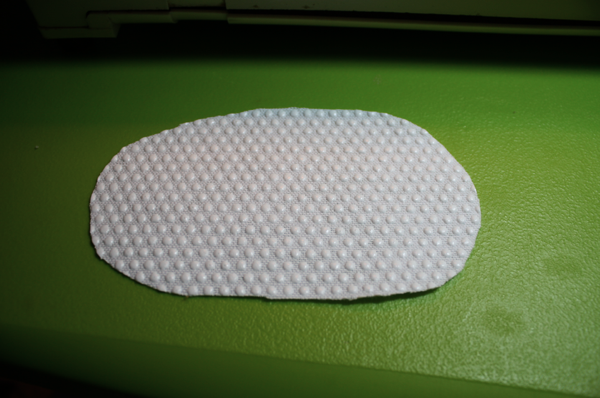
Turn your boot inside out, and pin the upper pieces together to keep them from shifting.
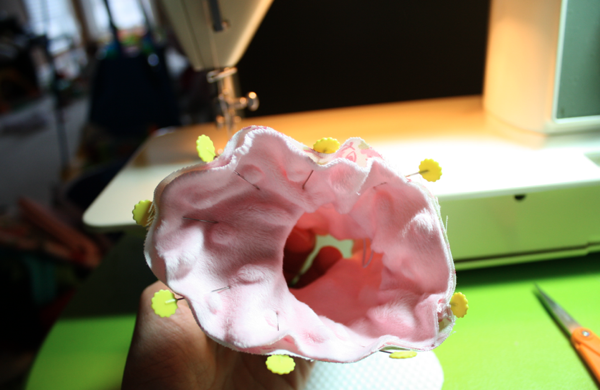
Place the minky side down on the outside of the bottom. Starting at the inside side of the shoe, sew around the perimeter,
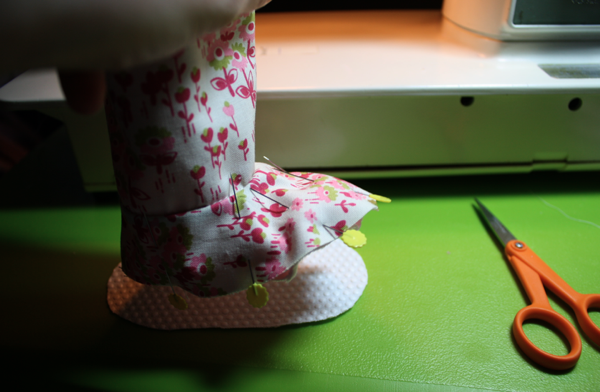
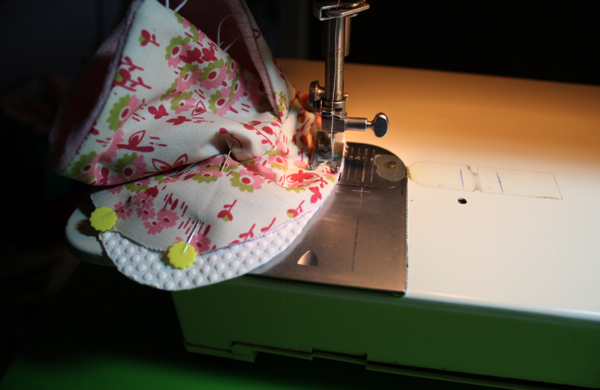
making sure to line the edges up as you sew around.
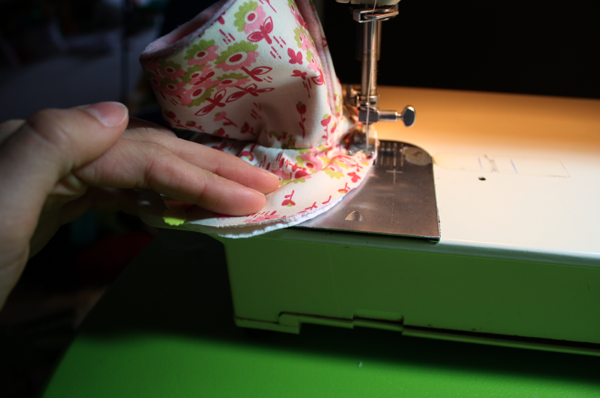
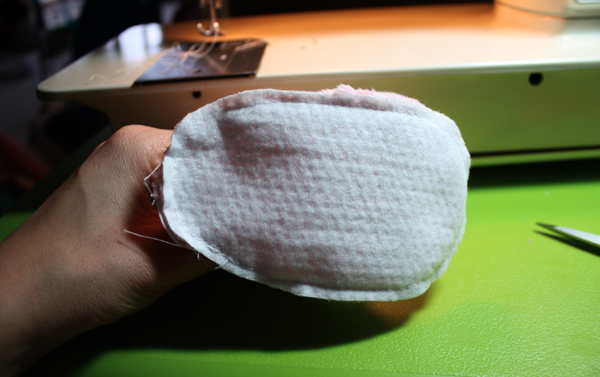
Turn inside out and admire your work.

Sew on buttons then find some sweet little feet to warm up!

Then to create the cape, I used a 6-12m coat we have (I know, isn’t it ADORABLE?!). I laid it out flat on a piece of freezer paper.

Be aware of any unsolicited help. I promise, they only want to put your tools in their mouth!

Back to the pattern. (she wrinkled the freezer paper crawling over it, so I’m sorry it’s hard to see that top right part) Draw a line from the start of the collar to the bottom of the sleeve on each side.

Then draw a line straight across the bottom.

Now, the rest of these measurements are the one’s I used for a 12m size cape. It’s still a little big on her, and will probably fit through 24m size, but you might need to figure out your own measurements if making a bigger or smaller size.
I drew a line 3″ from the bottom line,

Then another one 1″ above the line I just drew. Then I drew a vertical line 2″ from the edge on each side.

Using a curved edge, or freehand if you’re really good, draw a curved line from the outer corner to the intersection of the first 2 lines.

Repeat on the other side. Then draw a line connecting the two, arcing down to right above the lower line.

Here’s an idea of the shape of the cape versus the shape of the coat I used to make it.

Then cut out your cape piece on the lines you drew. Fold it in half and make the sides symmetrical, just as you did with the shoes.

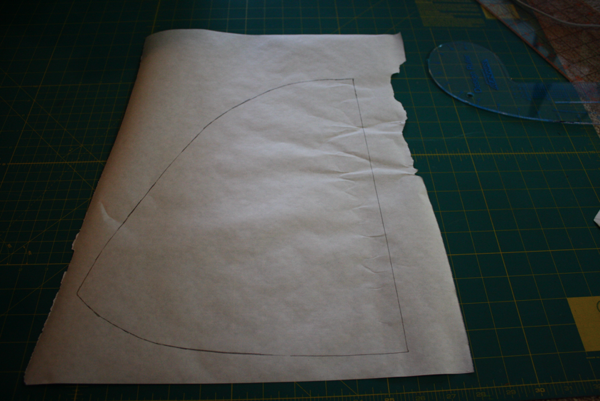
Keeping your piece folded in half, trace around it on a separate piece of freezer paper to make a pattern piece for the front of the cape.

The neck of the cape needs to have a scoop shape to it, so working with the full back piece first, keeping it folded in half, I measured 1″ down the straight folded middle edge, and 3″ out towards the shoulder, then connect them with a curved line.

I transferred the markings to the front pattern piece to have a reference point.

Then I made that curve deeper, using the measurements I marked, making sure to use the same point on the curved shoulder so the front and back pieces will match up perfectly.

Then cut out on your markings, and you have your cape pattern pieces!

Source: sewlikemymom.com
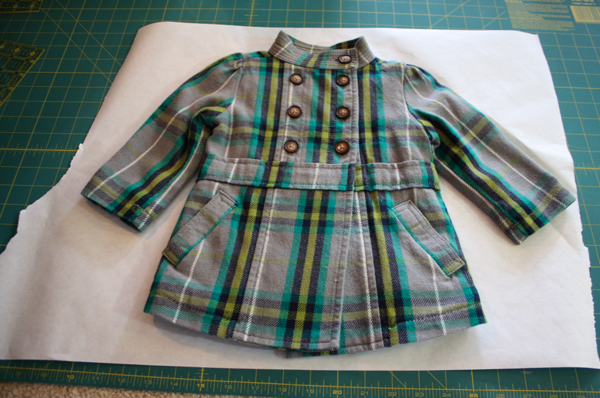
Be aware of any unsolicited help. I promise, they only want to put your tools in their mouth!

Back to the pattern. (she wrinkled the freezer paper crawling over it, so I’m sorry it’s hard to see that top right part) Draw a line from the start of the collar to the bottom of the sleeve on each side.

Then draw a line straight across the bottom.
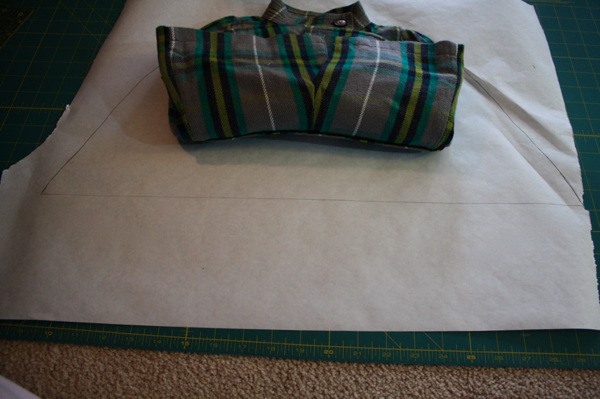
Now, the rest of these measurements are the one’s I used for a 12m size cape. It’s still a little big on her, and will probably fit through 24m size, but you might need to figure out your own measurements if making a bigger or smaller size.
I drew a line 3″ from the bottom line,
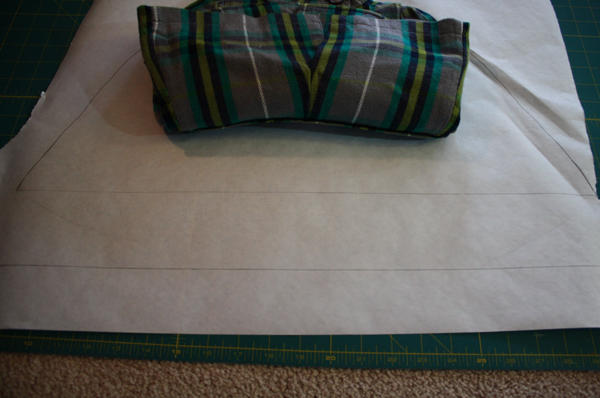
Then another one 1″ above the line I just drew. Then I drew a vertical line 2″ from the edge on each side.

Using a curved edge, or freehand if you’re really good, draw a curved line from the outer corner to the intersection of the first 2 lines.

Repeat on the other side. Then draw a line connecting the two, arcing down to right above the lower line.
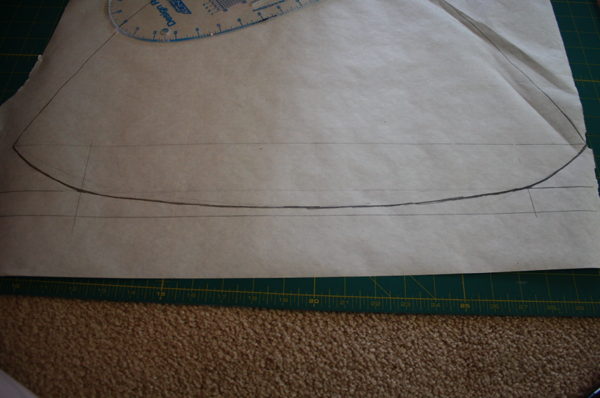
Here’s an idea of the shape of the cape versus the shape of the coat I used to make it.
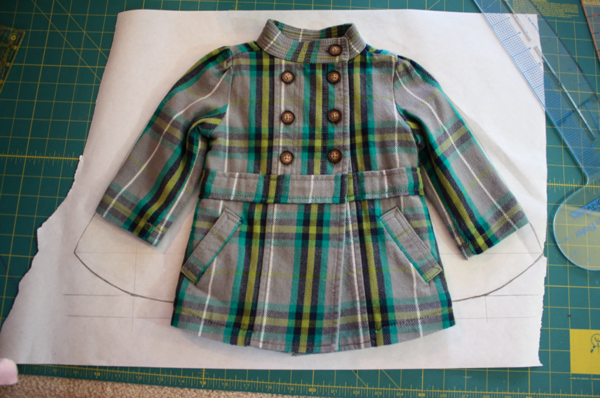
Then cut out your cape piece on the lines you drew. Fold it in half and make the sides symmetrical, just as you did with the shoes.

Keeping your piece folded in half, trace around it on a separate piece of freezer paper to make a pattern piece for the front of the cape.
The neck of the cape needs to have a scoop shape to it, so working with the full back piece first, keeping it folded in half, I measured 1″ down the straight folded middle edge, and 3″ out towards the shoulder, then connect them with a curved line.
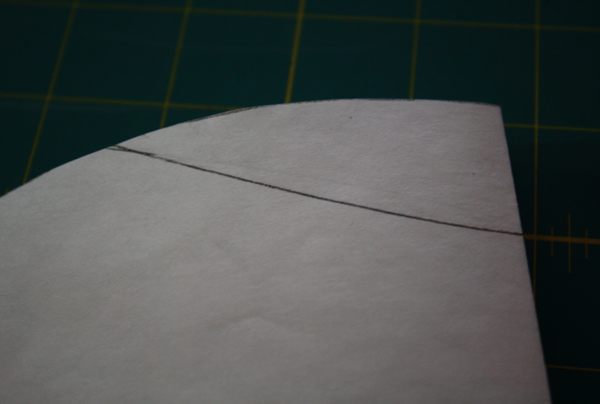
I transferred the markings to the front pattern piece to have a reference point.

Then I made that curve deeper, using the measurements I marked, making sure to use the same point on the curved shoulder so the front and back pieces will match up perfectly.
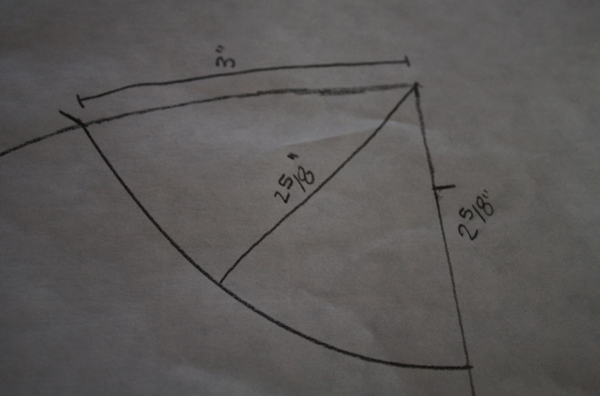
Then cut out on your markings, and you have your cape pattern pieces!

Source: sewlikemymom.com
 RSS Feed
 Twitter
 3:49 AM
 Unknown
 Posted in


0 comments:
Post a Comment