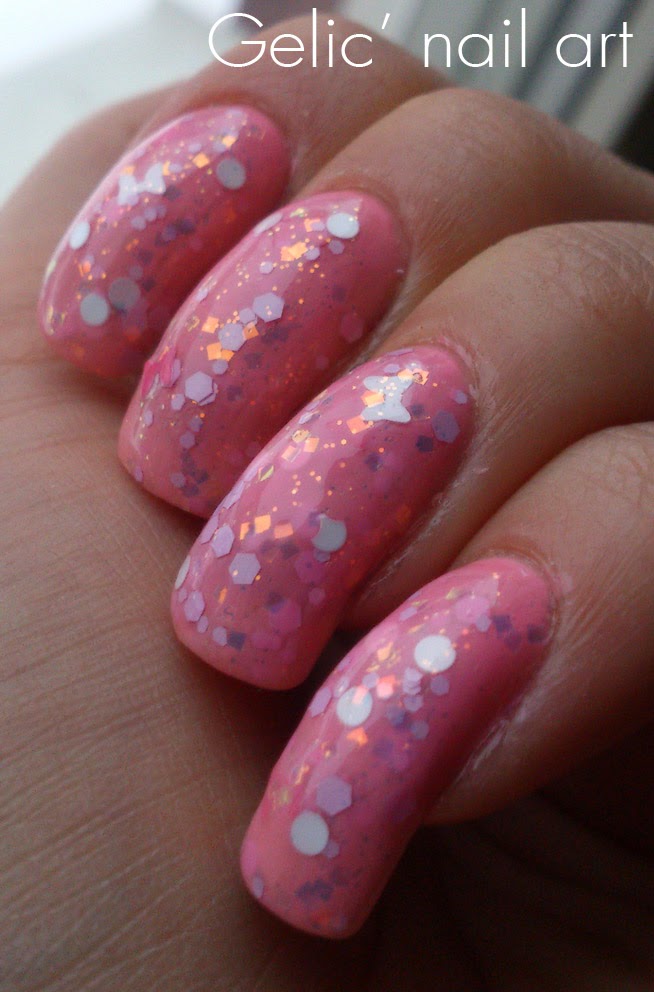
Now I've reached no 28 in the 31dnc which is "inspired by super natural" and at first I had no idea what to do. Then I came up with the best idea ever which was showing my water decals set from
Born Pretty Store which happens to be a
Halloween set with a whole bunch of super natural stuff. I've also included a tutorial of how I did this so you'll see how easy they are to wear. The Halloween set is just one example and there is more types of characters with water decals on their site. Remember that you can use my discount code
NGL91 to get 10 % off.
The set I got is filled with lots of different motives. At first glance it seems like it's only 4 manicures (seems like ten nails of each theme) but comparing the size to my nails (which is pretty wide I think) you see that this is way more. I used two "nails" for 5 of my nails and then I think I filled them a bit too much.
 |
| To the left: my pinkie. To the right: My thumb. |
And below is my little pictorial/tutorial guide on how to do this. After it I'll give some small instructions if you find it necessary. Basically this is a very quick and simple technique to obtain advanced nail art.
Instructions:
- Cut out the main motive with a (small) scissor.
- Peel off the protective plastic on top.
- Maybe cut in smaller pieces and then put in water. You just need them covered so a plate is enough. (Glass like here is not needed ;))
- Pick up the motive. The paper feels "oily" which makes the motive peel off easily.
- I used a tweezer to grab it even though it would be possible just to use the fingers.
- Then place it on the nail. It is super easy to move it around to place it exactly where you want.
- When I got it where I wanted I used my finger and pressed it down firmly.
- Then wait for a moment for the water to disappear or use a hair dryer. Then top coat it and you are ready to go.
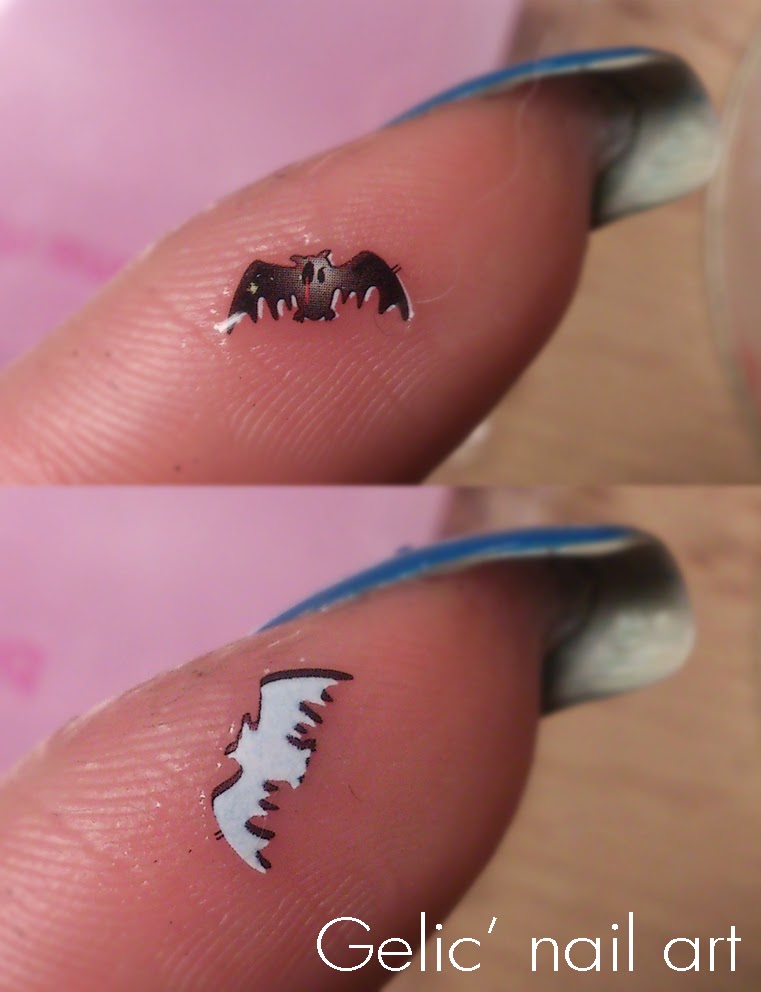 |
| Here you see a good thing, the water decals have a white background making the motive look very sharp even on darker colors since the polish color wont shine through. |
And below is the result. I might think I put too many motives on each nail but it was really fun to try out. One advantage with this comparing to stickers is that the surface is 100% smooth with top coat so there's no risk for curling. They where also easy to remove. So my verdict is that I really liked this. It was surprisingly fast to do and the result is very nice even though I'll try to get some more all year around motives. For example I like the sailor themed ones on the same link as these.
And there you have it. The link to these water decals are
HERE at the
Born Pretty Store Website. The cost for the whole decal set is
$3.99 and FREE world wide shipping. With the discount it's ($3,99x0,9=$3,591) which is ~25SEK, ~£2 and ~€2,5.
Polish used: Claudia - 609 (full swatch will come later)***Some products in this post have been provided for review***
 RSS Feed
 Twitter
 3:05 AM
 Unknown